Set up the development environment
Openflexo is built with Gradle, not Maven — stray pom.xml files you may find in some repos
are not the build. There is no single top-level repository: the workspace is a set of
independently-cloned git repos (connie, pamela, gina, diana, openflexo-core,
openflexo-*, the editors…), and cross-project development goes through the openflexo-dev
composite build, which resolves each included project against local source instead of a published
snapshot.
1. Clone openflexo-dev
git clone https://github.com/openflexo-team/openflexo-dev.git
Its settings.gradle declares one includeBuild '../<project>' per repository — most already
active, a handful commented out (research prototypes, or a technology not everyone builds locally;
see the repository map for which). Clone the projects you intend to work on as
siblings of openflexo-dev; for a project whose line is commented out, un-comment it. A cloned
project whose includeBuild line stays commented, or a project you never clone at all, is resolved
as a published jar from the Openflexo Artifactory instead of local source.
2. Generate the parsers, once, before the first compile
Several modules (connie/*-parser, openflexo-core/fml-parser, openflexo-core/fml-cli, the
technology-adapter parser modules) are generated from SableCC grammars under
src/main/sablecc/*.sablecc. Run this once, before the first build or IDE import, so that the
generated classes exist, and again whenever a grammar changes:
./gradlew sableccParser
Generated sources land in build/generated-sources/ and are never committed or hand-edited.
3. Build
The tasks, and the trap of a green build with failing tests, are detailed in Build and test.
./gradlew compile     # compile everything included in openflexo-dev
./gradlew test        # non-UI tests — read the printed summary, ignoreFailures hides red tests
./gradlew testAll     # every test, including UI (needs a display)
Using Eclipse
-
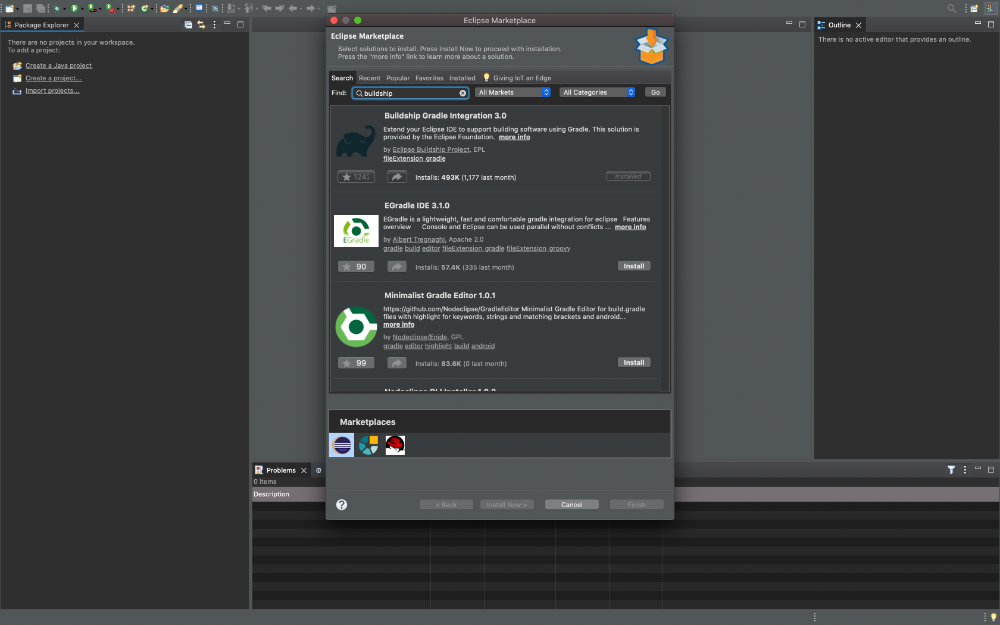
Install a recent Eclipse with Buildship (the Gradle integration) — most recent Eclipse releases ship it; otherwise install it from Help ▸ Eclipse Marketplace….
-
Clone
openflexo-devfrom the Git perspective, then Import… ▸ Existing Gradle Project, pointing at theopenflexo-devcheckout and using the Gradle wrapper.
-
Clone and import each project you intend to work on the same way, then un-comment its
includeBuildline inopenflexo-dev/settings.gradleand right-clickopenflexo-dev▸ Gradle ▸ Refresh Gradle Project. -
Run
./gradlew sableccParser(step 2 above) before importing a project with a*-parsermodule, or Eclipse will report the generated classes as missing. -
To run a packaged application from Eclipse: create a Run Configuration with main class
org.openflexo.Flexo, module set to one of the existing packages underopenflexo-packaging(openflexo-designer,flexomaintainer,freemodelling, …), and program argumentdev.
Using IntelliJ IDEA
-
File ▸ New ▸ Project from Version Control to clone
openflexo-dev, then reload it as a Gradle project from the Gradle tool window.
-
Clone each project you intend to work on the same way, check out the branch matching
openflexo-dev, un-comment itsincludeBuildline inopenflexo-dev/settings.gradle, and reload the Gradle project again. -
Run
./gradlew sableccParserbefore working on a project with a*-parsermodule. -
To run a packaged application: Add Configuration… ▸ Application, JRE per the component's own requirement, module set to one of the existing packages under
openflexo-packaging, main classorg.openflexo.Flexo, program argumentdev.
Recommendations
- Use the Eclipse code formatter published in
openflexo-production(EclipseCodeFormatter.xml), configured to run on save. - See Code standards for the conventions beyond formatting.